
How To Create Custom Themeroller Styles
Event Espresso uses jQuery’s awesome Themeroller system by default to help style the events and calendar. You can of course use default CSS instead, but if you want to use Themeroller and be able to style it to meet your needs, listen up.
Step 1 – Design
Head over to the Themeroller site, http://jqueryui.com/themeroller/, and on the left hand side is a menu entitled Roll Your Own.
Here you can customise and change the styles in real time by selecting the different options.
As a quick example you can change the “bar” effect behind the event titles like this:
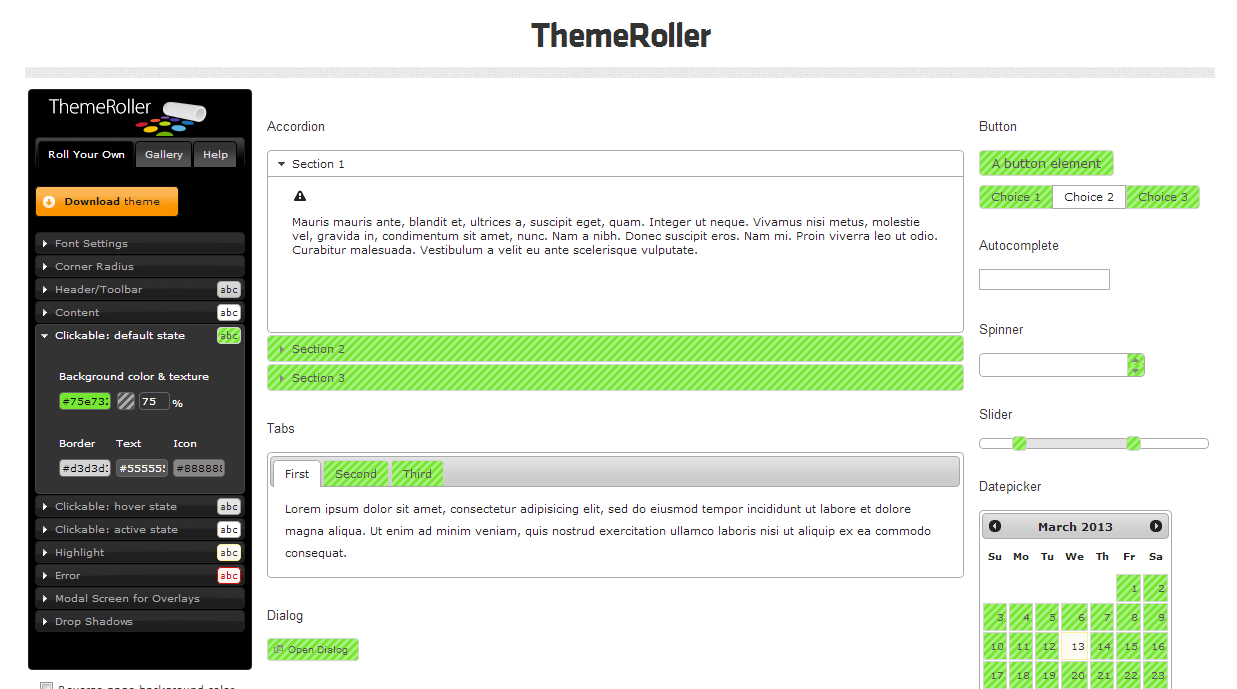
Once you have the design that you want click the Download Theme button at the top of the left hand menu.
You will be taken to the Download Builder. Here you will be faced with lots of options, but not to worry, we don’t need any of these.
Where it says “ Components Toggle All” and make sure the box is un-ticked.

After that, scroll to the bottom of the page and add your custom styles name into the box called Theme Folder Name.
Then click the Download button.
Step 2 –Change the files
Ok, so now we need to make the files compatible with Event Espresso, and this is generally best done on your computer.
Unzip the Zip archive that you downloaded earlier from Themeroller.
There are a few files in here but the ones we want are in the CSS folder, in a sub folder with the name you gave it in step 2. In my example it is called “my-custom-theme”.
Inside that folder will be an images folder and two files:
jquery-ui-X.custom
jquery-ui-X.custom.min
X equals the version number. Both of these files are the same except one has been minified (made un-readable for humans but smaller).
Choose one and delete the other.
Rename the remaining file to style.css (Windows users, just rename it to style, Windows will keep the .css intact for you).
You will be left with the following
My-custom-theme directory
Style.css
Images directory
Various images
Step 3 – Upload and activate
Using FTP or your control panels file manager, navigate to your wp-content/uploads/espresso directory of your site.
In this directory create a new directory called themeroller.
In side this directory create a new php file called index.php. It must be blank.
Upload your custom themes files and direcotries keeping the structure, so you will end up with:
wp-content/uploads/espresso/themeroller/index.php
wp-content/uploads/espresso/themeroller/my-custom-theme/
wp-content/uploads/espresso/themeroller/my-custom-theme/style.css
wp-content/uploads/espresso/themeroller/my-custom-theme/images/
wp-content/uploads/espresso/themeroller/my-custom-theme/images/various image files.
Now log into your WordPress dashboard and go to Event Espresso > Template Settings. Scroll down to the Stylesheet Options and choose your custom theme from the Themeroller Style dropdown menu and click Save Options.

Now you will have a good looking, unique style for your site.