
Add New Event
Event Espresso Documentation for Adding a New Event
Add New Event
In order to add a new event you need to click the Add New Event button in the Events menu.
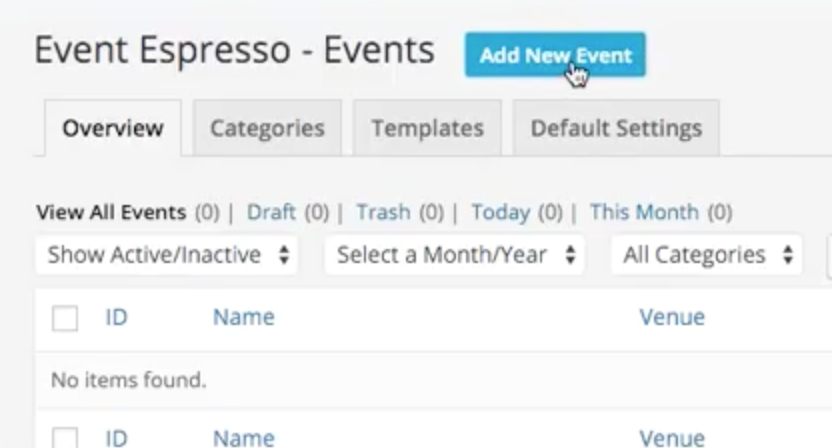
This will take you to the Add New Event page.
This page contains 4 tabs: Add Event, Overview, Import and Default settings.
Please note that if you click anything other than the Add Event tab, you will be taken away from that page and any data entered will be lost.
Event Title – add a title for the event, this is visible on the front end.
Permalink – add a custom permalink for the event. If nothing is entered, then it will use the event title.
Event Description – this is a standard WordPress editor and you can add a description and format it as well as add images etc.
Event Datetimes – add in the start date, end date, times, and limit for each Event Datetime. An event can have more than one Datetime. Click the "Add Datetime" button to add more Datetimes. Click the ticket icon to assign tickets to a datetime. Click the the copy icon to duplicate a Datetime. Click the garbage can icon to trash the icon.
Available Tickets – enter the price and quantity for each ticket type; click the "Create Ticket" button to add more tickets. Click the gear icon to toggle the advanced options where you can assign a ticket to a date time, set minimum/maximum purchase limits, and set price modifiers.
You can click on the Help tab on the upper right corner of the event editor page, then click on Event Tickets for more detailed information about how to use the Ticket editor.
Venue Details
Here you can select a venue from your list of venues. Venues can be managed in Event Espresso > Venues. The venue information can be displayed on the event information page.
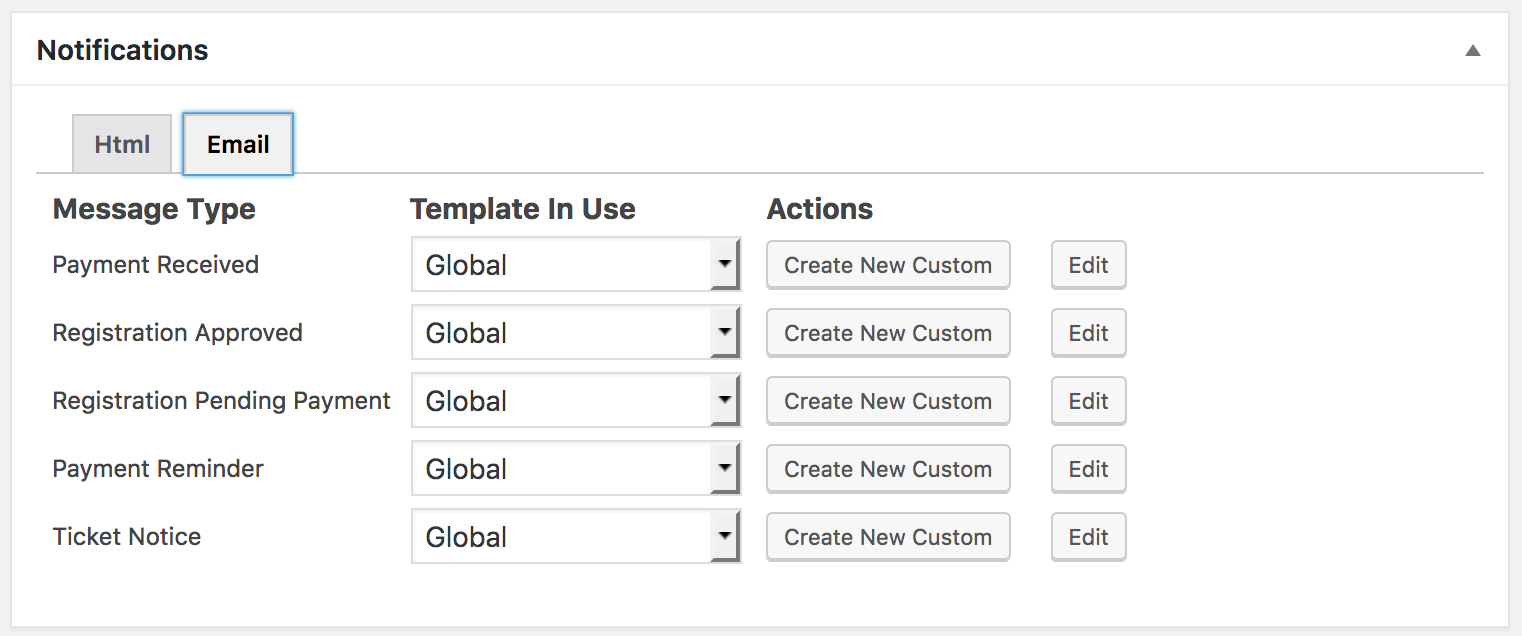
Notifications
This area controls which emails are sent on a per-event basis. If you don’t need to control the individual events emails, and are happy to use the same ones across all your events, you can happily ignore this section.
By default the event will use the Global emails created in the Messages area, but you can select a pre-built custom email or start a new custom email by clicking the Create New Custom button. When you click the button, a modal will appear and you can create the custom email.
Event Registration Options
These control important aspects of the event.
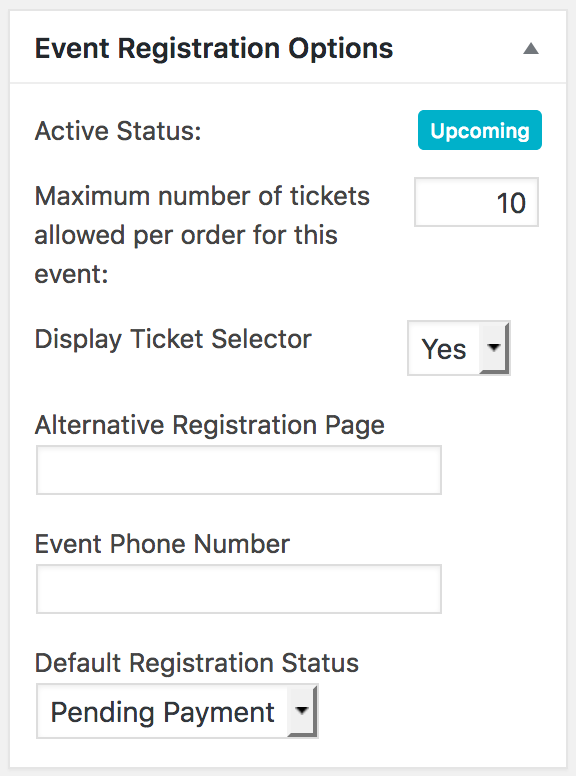
Active Status
Shows the current status for an event. A status will appear as Active, Upcoming, Postponed, Inactive, Sold Out, Expired, or Cancelled. Please see the help tab in the for a list with definitions of the event statuses.
Maximum number of tickets allowed per order for this event
Control how many tickets can be purchased in a single order. If the ticket limit allows, the ticket quantity selector will allow a quantity selection up to what’s set here.
If you set this option to 1 a radio button will appear instead of a ticket quantity selector.
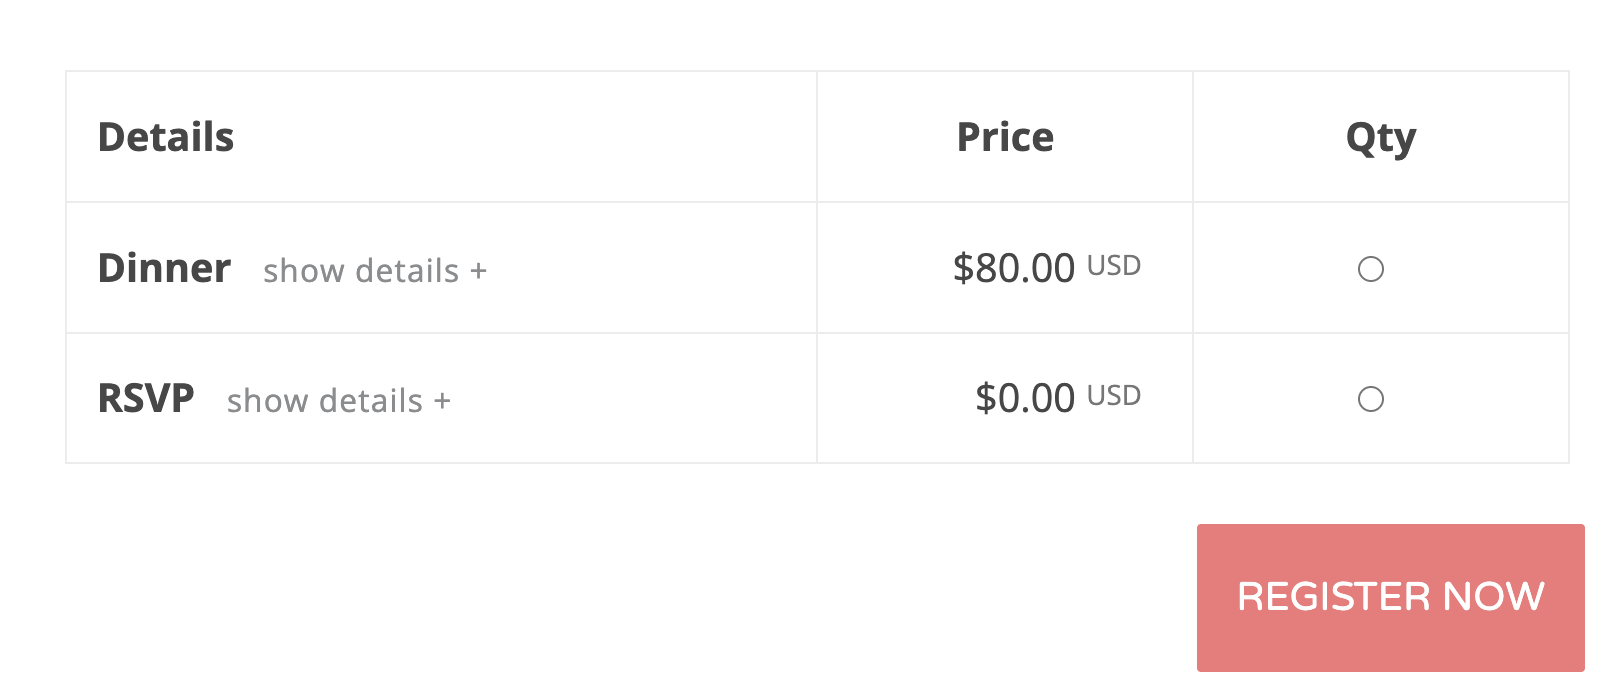
If you have a maximum number of tickets allowed per order set to 1, and only one ticket option, the ticket quantity selection is disabled and just a single "Register" button is available.

Display Ticket Selector
Show the ticket selector or don’t. This can be useful to set to no when registration isn’t required to attend an event.
Alternative Registration Page
Takes a URL to a different event page. If this is set when the user clicks the link to go to this event’s registration page, they will be redirected to the alternative URL.
Event Phone Number
Enter a phone number for this event. This field is optional.
Default Registration Status
Select the default registration status for this event only. This will override the global setting that’s set in the Default settings tab. The options are Approved, Not Approved, and Pending Payment. An explanation of each setting can be found in the Default Settings help tab.
Featured Image
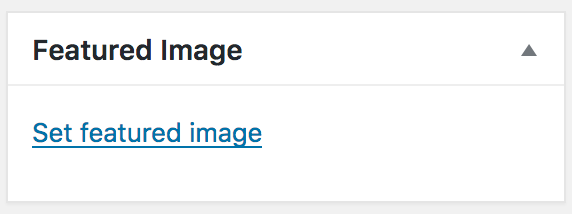
Set featured image
If the WordPress theme adds support for featured images, you can set a featured image for the event. This is primarily used in the Calendar display if the option to display Calendar images feature is enabled. Your theme may also display the featured image in the archives template (for the event list) and the single post template (for the event page). Please see the notes in the calendar documentation for tips on getting the best results for displaying images in the calendar.
Questions for Primary Registrant
Here you can select which question groups are shown to the Primary Attendee during registration. The default Personal Information question group is always selected.
If you have any other question groups created they will show here, and you can select them as necessary.
Questions for Additional Registrants
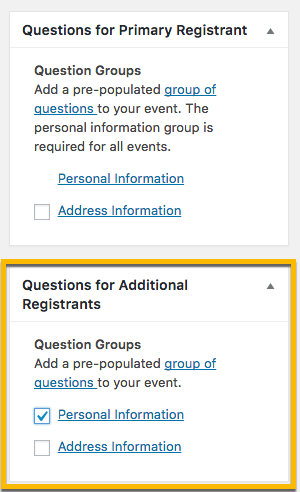
Just like the questions for the Primary Attendee, here you can select question groups to be shown to the Additional Attendees. This will allow you to ask for information from attendees if more than two tickets are being purchased.
prim
Event Category
Event categories help you to split up your events into manageable groups. If you have any event categories created you can select them here.