Mobile Apps for Event Espresso 3 (Legacy Event Espresso)
HD App
The Event Espresso HD app for iPad, iPhone, and Android, allows you to transform your iOS device into an onsite attendee management tool. This sweet little app allows you to quickly check-in attendees and view information at your events and attendees. Built-in ticket scanning capabilities allow you to scan tickets at your classes, meetings, conventions, concerts, and everything in between.
You will need to download and install the JSON API add-on to connect your iOS device to your website. If you have a current Business, Developer, or Ticketing support license, the JSON API add-on will be available in your account.
Installation for iPad
The HD app can be downloaded and installed on your iPhone and iPad devices from the iTunes store:

If you have more than 100 events, attendees, or registrations you’ll need to update the app’s default settings. You can go into the iOS device settings and scroll down past the apps developed by Apple to where you see individual app settings. There you can tap Event Espresso and go into its settings and adjust the default settings as needed.
Logging in
1. Once the app is installed on your iOS device, click on the “Event Espresso” icon.
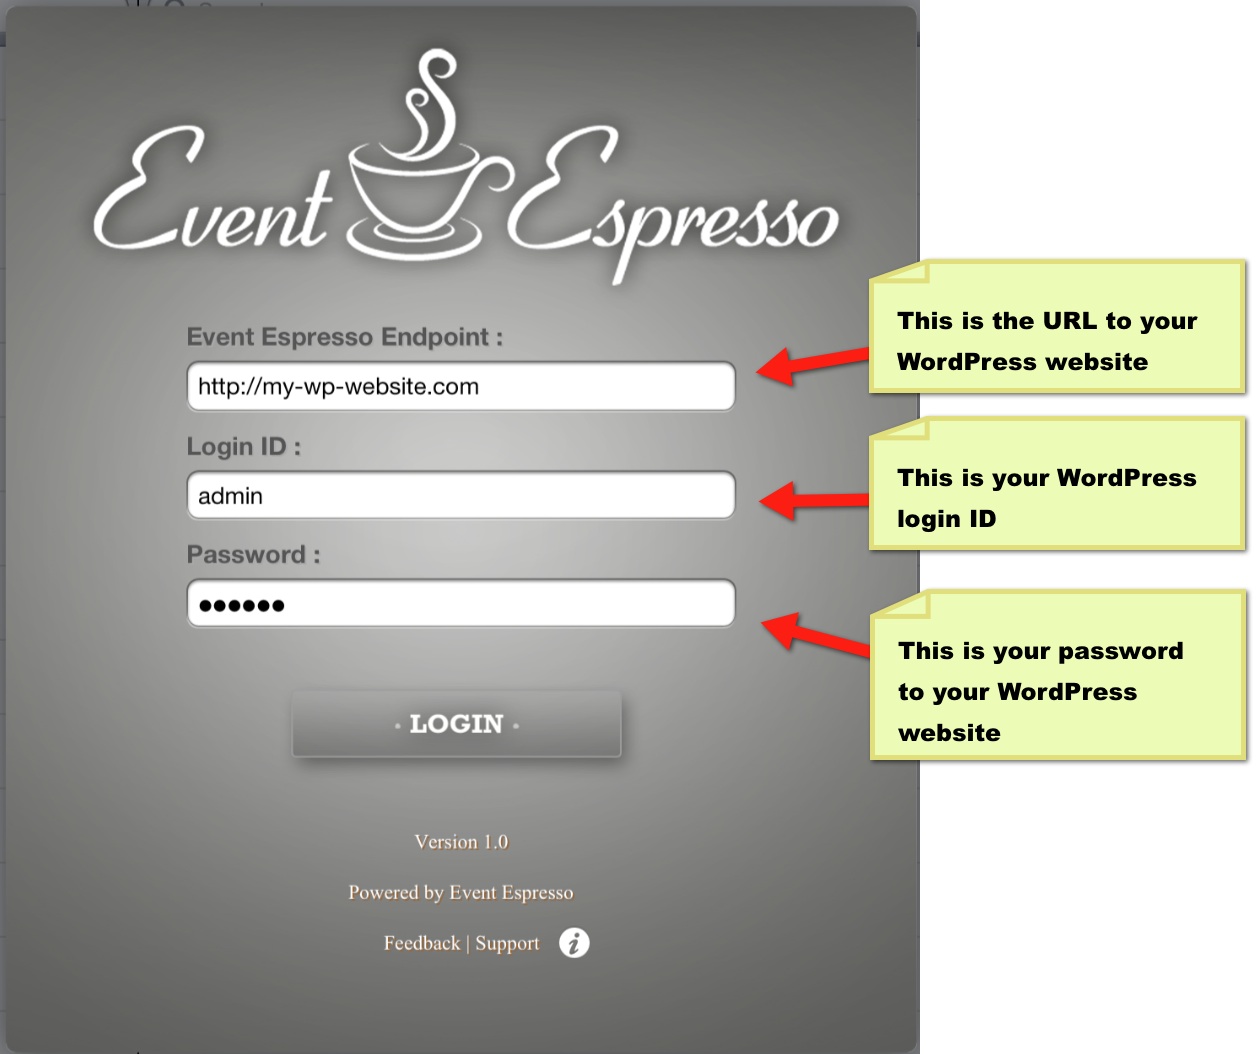
2. Enter the your WordPress Admin login credentials in the login screen:
If you are having problems connecting/logging in (e.g. an error such as “Sorry, cant log in 404-not-found” or “Sorry, can’t log in bad URL”). Please make sure your iOS device is connected to the internet and the JSON API is installed on your Event Espresso powered WordPress website.
If the iOS device is connected to the internet, please test the HD app using the Event Espresso Test Drive website to login:
Event Espresso Endpoint: eventespresso.com/testdrive
Login ID: myespresso
Password: mrespresso
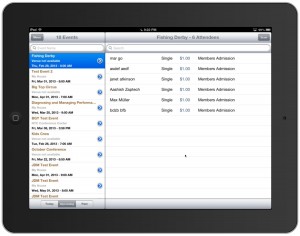
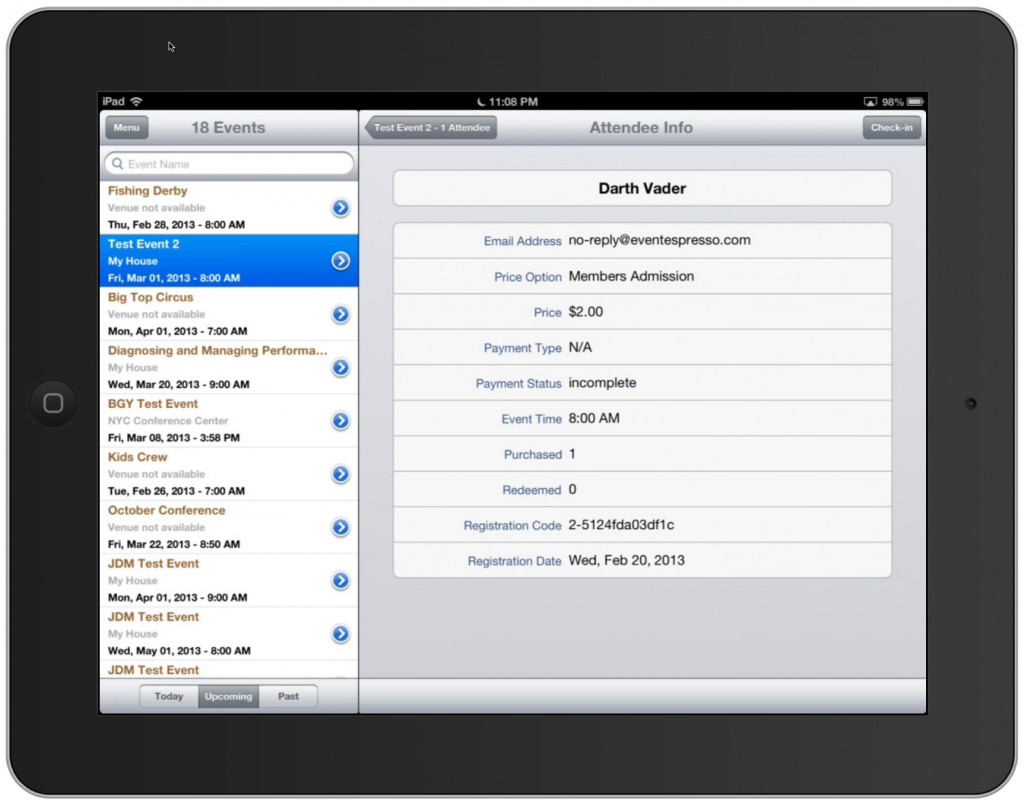
3. Once you are logged in, you should see a list of events (“Events View”), with the attendees (“Attendee View”) listed on the right side of the screen:
Scanning Tickets
1. Click the “Scan” button in the top-right corner of the event/attendee overview screen:
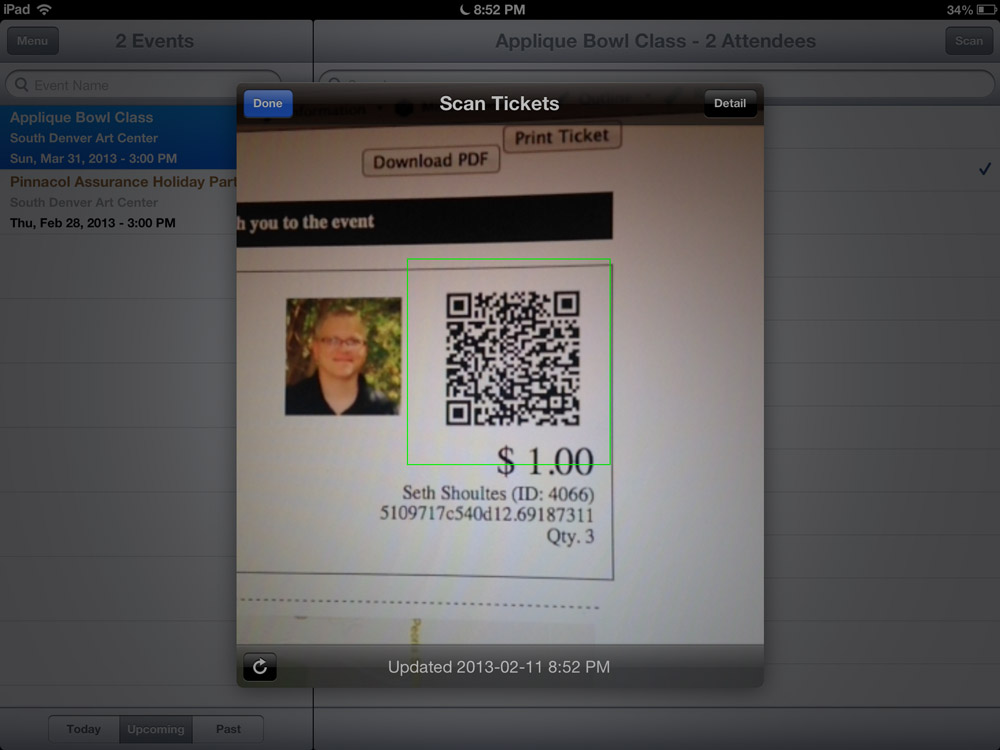
2. You will see the “Camera View” within a modal window when the “Scan” button is pressed. Just place the device’s camera over the ticket, centered above the QR code:
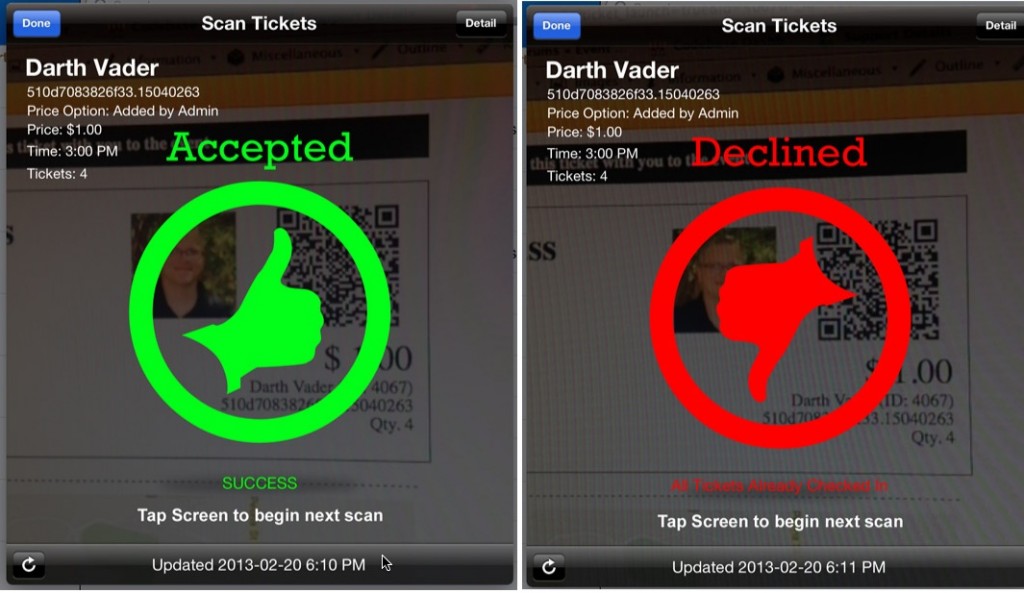
3. When a ticket is successfully (or unsuccessfully) scanned, the camera view will change to show the info about the attendee and display a green thumbs-up (or a red thumbs-down) image:
Manually Checking In/Out Attendees
1. Manually checking in attendees is easy. Just click on an attendees name, in the “Attendee View”, and and the view will change to show the “Attendee Info View”:
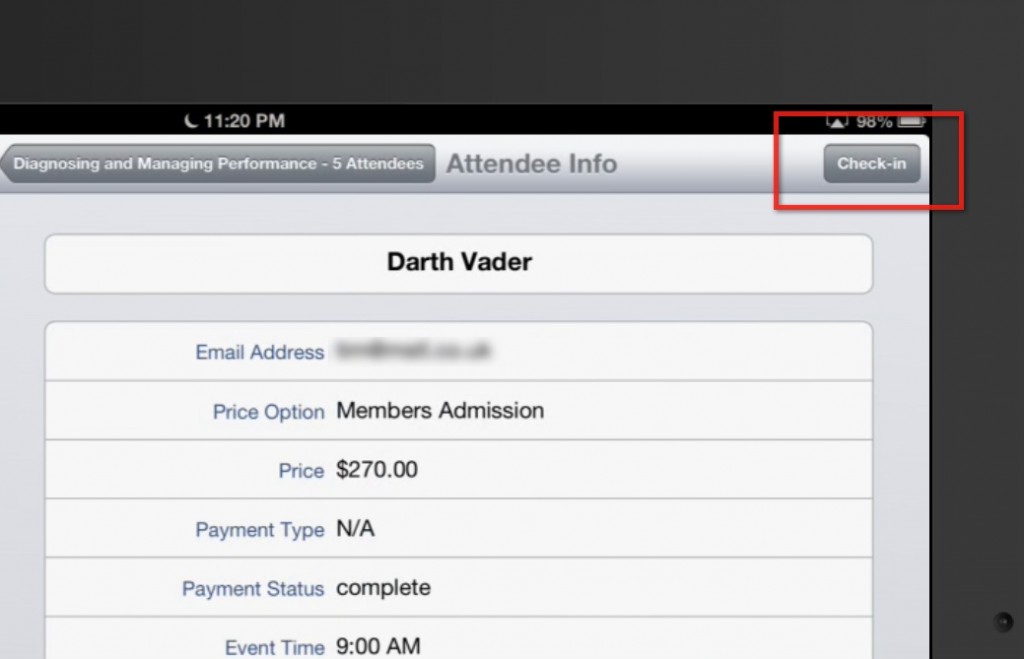
2. Next press the Check-in (or Check-out) button in the top right corner of the Attendee Info View:
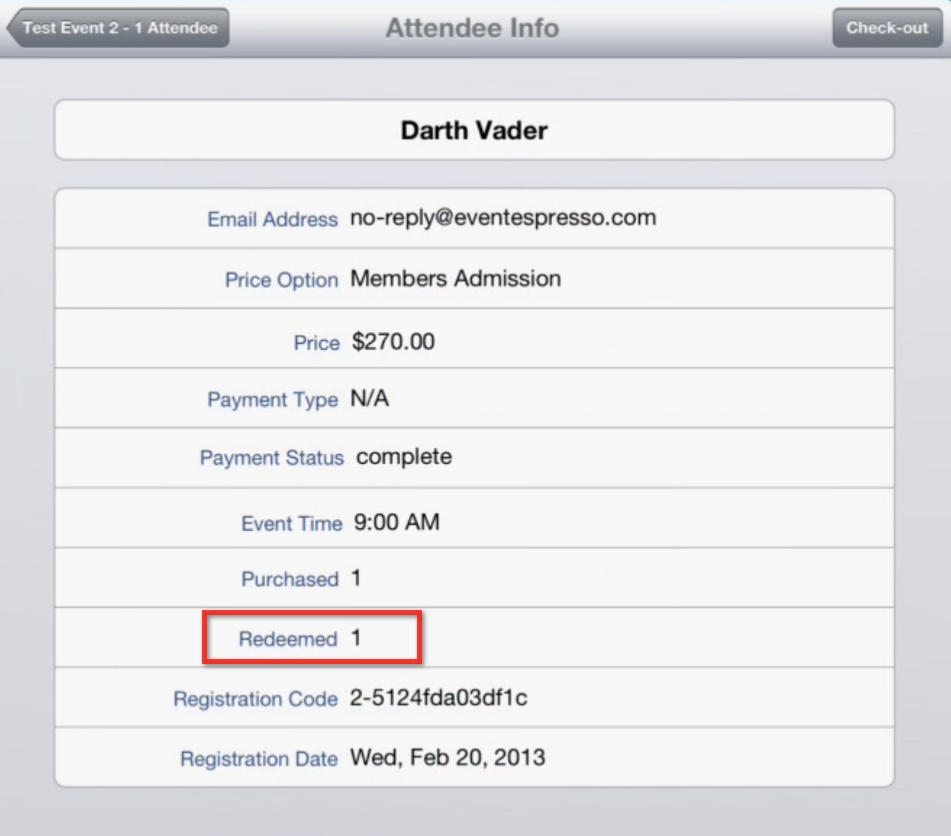
3. When the attendee is successfully checked-in, the “Check-in” button will change to “Check-out” and the “Redeemed” row will increment (or decrement if the “Check-out” button is clicked):
Manually Refreshing a View
Not seeing recent registrations or newly added events? Just pull down on any view (“Events View”, “Attendee View”, “Attendee Info View”) to refresh.
iPhone/iPod App
Installation
The iPhone app is the same as the iPad app and can be downloaded from iTunes
Logging In
1. Once the app is installed, click the Event Espresso icon.
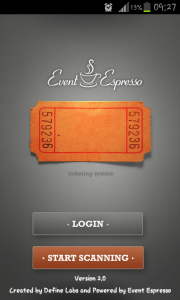
2. Login or Start Scanning
If you haven’t previously logged in, tap the Login button and fill out the details.
Blog URL: Your website address
Username: The username you use to log into your website
Password: The password you use to log into your website
If you have previously logged in you can just click the Get Scanning button for quick access.
Scanning Tickets
Once inside, you are faced with three tabs: Today, Upcoming and Past.
These refer to your events and will list the events appropriately. Or you can use the search function to find an event by name.
Once you have found the event, tap its name.
The scanning system will now become activate and you need to focus the QR code on the ticket in your phones camera. Once it picks up the QR code, the app will display a green thumbs up if the scan is successful or a red thumbs down if the scan is unsuccessful.
These are due to a few reasons: The ticket is invalid. The ticket is for the wrong event. The wrong event was selected on the app or the ticket has reached the maximum number of scans.
Android App
The Event Espresso HD Android app is now compatible with the JSON API.
If you don’t use Apple, fear not we have the same quality app on Android too!
Installation

The app can be downloaded from the Google Play Store
Logging In
1. Once the app is installed, click the Event Espresso icon.
2. Login or Start Scanning
If you haven’t previously logged in, tap the Login button and fill out the details.
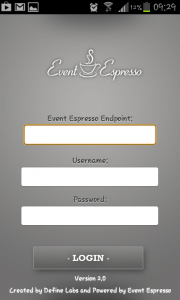
Event Espresso Endpoint: Your website, remember to include the http://
Username: The username you use to log into your website.
Password: The password you use to log into your website.
If you have previously logged in you can just click the Get Scanning button for quick access.
Scanning Tickets
Once inside, you are faced with three tabs: Today, Upcoming and Past.
These refer to your events and will list the events appropriately. Or you can use the search function to find an event by name.
Once you have found the event, tap its name.
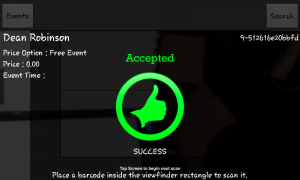
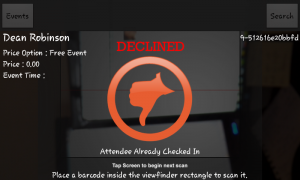
The scanning system will now become activate and you need to focus the QR code on the ticket in your phones camera. Once it picks up the QR code, the app will display a green thumbs up if the scan is successful or a red thumbs down if the scan is unsuccessful.
These are due to a few reasons: The ticket is invalid. The ticket is for the wrong event. The wrong event was selected on the app or the ticket has reached the maximum number of scans.
Events Not Loading
Make sure WP_Debug is disabled in your wp-config.php file. If WP_Debug is disabled, then you will need to add @ini_set( 'display_errors', 0 ); to your wp-config.php file.


